Listen to this blog or subscribe to my podcast

Sunday, June 12, 2011

My Take on Hummus

I have been making hummus for a while now. I picked up the basic recipes from a number of places on the net and a book or two. I have taken the common elements and have added a few things to my version of hummus. After describing how I made hummus I have been at the receiving end of long tirades about how this is not the proper way to make hummus yada yada yada... So... This is my way... To make sure you feel happy please make changes after the first batch. Hummus IS comfort food :) 


Anyways...


I usually take a sesame (তিল/तिल) and chickpeas (কাবুলি ছোলা/छोले) in the same proportion (dry weight) to begin. For this lot, I took 250gm of each. 

I first roasted the sesame (তিল/तिल) in a pan and then cooled it spread on a newspaper to get rid of the moisture. I just can't seem to find the interestingly strong sesame that Chandan brothers sell in Pune as गावरान(gaoran) til in Mumbai. I just get strange looks when I ask and am shown the standard white sesame. So I just went and bought it when I was in Pune... This is a nice and brownish looking till with a very robust flavour compared to the standard sesame you get.
Sesame roasted...
I had soaked the  chickpeas (কাবুলি ছোলা/छोले) overnight and once I drained the water it was a few grams over double the dry weight.
Chickpeas soaked overnight...
To be honest before I bought the digital scale I just did all this by eye and it worked fine. I just went to the grocer and asked him to give me the stuff in multiples of quantities he/she could measure, and hence the 250gm multiple thing. Just made my life easier then :)
Anyways... I dunked the entire thing in a pressure cooker with just enough water to cover the chick peas and cooked it for a few whistles...
Chichpeas and water...

In the pressure cooker...

A few whistles later...
While the chick peas were cooking, I got the garlic in place to make the tahina...


And rough ground it with some sesame...


Then I took the rest of the sesame and ground it into a powder. Then I added the garlic mixed rough ground bit and blended the entire thing with gobs of olive oil... 
Tahina ready... :)


Tahina
By this time the chick peas had cooled enough for me to pop them into the food processor. This has really been a good buy in Mumbai. I've done this for a long time on my trusty Pune grinder but this is just brilliant for things like hummus.


After a quick whirl and before I incorporated the tahina I added the juice from a lemon and a bit of dhannia and jeera powder. This is where I deviate from the purists' version of hummus.


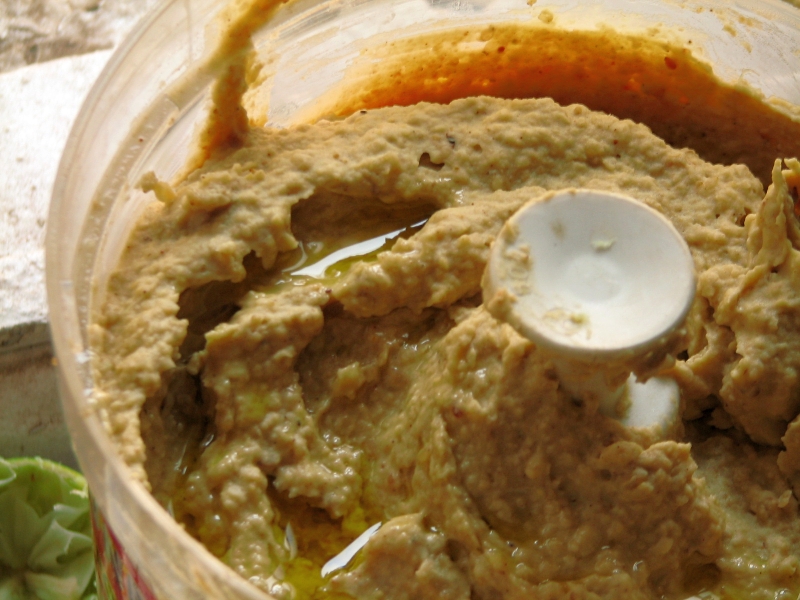
After another whirl in the blender with the tahina, I laced the thing with some more olive oil and my hummus was ready.


The hummus stays for ages in the fridge so it is really worth the effort. Especially since I can do a whole lot of different things with it while it is there... 

Soyabean Kowsha with Meat Masala

This is something that I have cooked over and over for quite a while I was studying in Pune. However, I like that fact that now-a-days the soya chunks are coming in inventive forms like various sizes of nuggets and even granules.


I wanted to make something that visually resembled कीमा/কিমা (keema) but used the soya granules instead of mince meat that keema is.

I have always wanted to neutralize the typical taste and smell of the soya granules since that helps absorb the flavours better to do do this, I roughly soaked a cup and a half of granules in some warm water and then squeezed out the excess water. I repeated the process with some salt water since that would help the tongue identify the tastes better.

Soaking the soya granules 

The hydrated granules
কষানো (Kowshano) is the Bengali way of expressing the process of slow cooking a mix of wet and dry spices (usually in a fair bit of oil). In devanagari the process would be called भुन्नोing (bhunno). The process itself if quite integral in almost all schools of Indian cooking traditions.  

To prepare for this I got the standard garlic, onions, and tomato combination ready.
A couple of tomatoes, a medium onion, and three clove of garlic
I roughly chopped the onions...
Chopped onion
And the tomatoes...
Chopped tomatoes
The garlic I first gently squished with the flat of a knife blade to release the aromatic oils and then chopped...
Squished and chopped garlic
All this went into my trusty mortar and pestle for a quick grind...
A quick grind
To this I added the meat masala, a little হিং/हिंग/hing (asafoetida), a little হলুদ/हल्दी/turmeric powder and a content from a sachet of ketchup...
Adding the masala...
Once this was neatly mixed, I splashed in some oil in the pan and slow কব্ষা/कस्सा/भुन्नो (kowshaoed/bhunnoed) the mix till it looked like this and the oil separated...
Slow fry...
Then I added some milk and water to the the mixture to get a basic gravy in place...
Increase the liquidity...
And added the soya...
Add the soya granules...
And voila! My lunch was ready :)
:)


Saturday, May 28, 2011

Apple Crumble

I have always made apple pies and read how it was simpler to make a crumble. So when I saw the poor apples languishing in my fridge as I attended to the grind at office, my heart went out to them.Feeling for the apples was one thing and baking something is an entirely different thing all together. 
The weekend quickly vanished in a haze of cleaning, stocking up for the week ahead an settling things down to battle the work week ahead. Determined not to abandon my intentions, I pulled out my trusty glass baking dish even as I washed the apples and roughly chopped them. 
Now, the recipe called for "peeled and cored" apples. I've always made my apple pies with the skin on (and it comes out good every time). So to save some time, I left the skin on and chopped the six apples.


I took a cup of brown sugar and put it on the apples while I started preheating the oven.


I quick squish later, the apples were in the pan. I put in some powdered cinnamon and a pinch of nutmeg. Soon the apples were bubbling away and stewing in the released juice.


While the oven was being preheated and the apples were stewing, I started making the pastry. I started by pulling out a hunk of butter from the fridge and sliced off 100gm. Next the sliced got cubed...


I took a cup of flour(maida) and a quarter cup of brown sugar...


The pastry is supposed to be kneaded as little as possible and mixed using two butter knives. Of course I did nothing of that sort and just squished things together with a fork. Works fine. As long as you don't knead the flour, we're good for short crust pastry. When the flour mixture looked like crumbly little beads, I knew the pastry was ready.


Next I layered the baking dish, with some oats and a few raisins. This would lift the baked end product better and give a little 'raisiny' surprise at the end of the experience.


The apples were now done well and I quickly forked the it into the baking dish...


The pastry now went on top and the trick here is to resist the temptation to the pat it down.


After baking for about 30 min the apple crumble was done. Eating the crumble while it was  still warmish was a treat. The top layer is beautifully salty and a little crunchy which quickly prepares you for the cinnamonny sweetness of the apple and the plumped little raisin at the end.


It's quite difficult to finish the entire crumble by myself (and uncharitable to boot :P). So, next morning my colleagues at work got little clumps of the crumble (except the ones in the throes of some or the other 'diet').

Saturday, May 21, 2011

Quick Tomato Carrot Stir Fry with Soya Sauce

This is one for the morning when I am loathe to cook and yet I want something that helps the taste-buds as the lunchtime beckons.


I started with a medium sized onion (about and inch and a half in diameter). This quickly got chopped into four and then another slice through the middle. A quick slap with the palm gave me little pieces that would add texture to the dish. A few cloves of Chinese garlic (easy to peel) got gently smashed by the blade and then roughly chopped next.


A couple of smallish tomatoes got chopped next

The carrot take a while to dice but once done I popped it into the microwave for a couple of minutes to soften them while everything else got started.

The garlic went into the hot oil and quickly started getting caramelized...

The onions went in next and got tossed around briefly to coat them with the oil to get the garlicky flavour on them but not too cooked since I wanted them to retain the crunch.

And then the tomatoes joined in while the microwave started beeping to remind me that the carrots were ready...

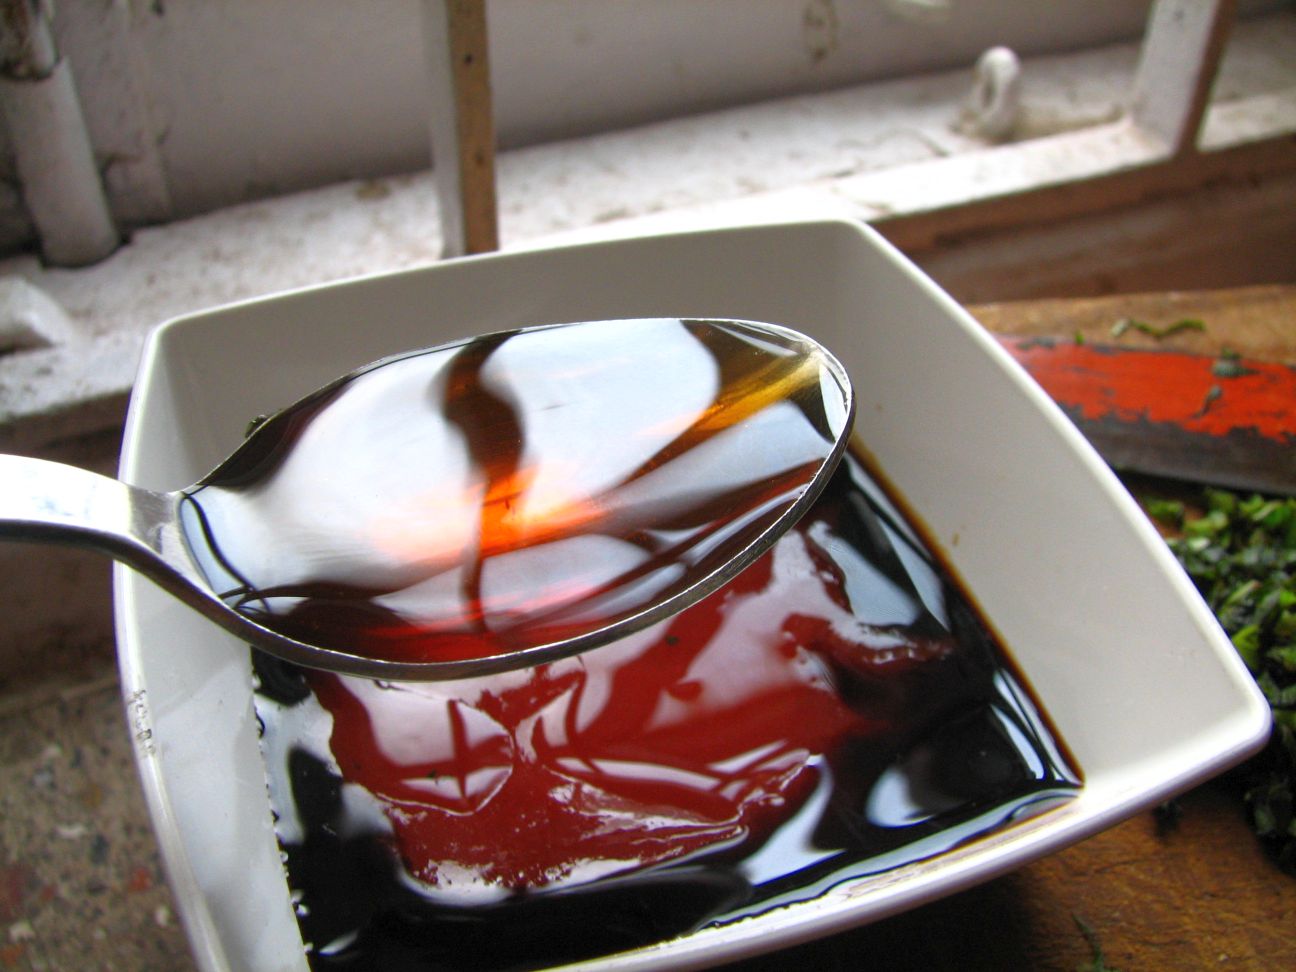
After adding the carrot I put in a wee bit of dark soy sauce to add some salt and the overpowering taste of soy...


A little shake and a minute later my lunch was all ready to be packed into my trusty Tupperware lunchbox.

Friday, May 06, 2011

Carrot Sesame Basil Salad

It was one of those days when I just could not bring myself to cook anything in the morning. Also I did not have much in the fridge.
So I pulled out a few carrots and three sachets of the of ketchup.


The sliced the carrots...


...and then got out some iceberg lettuce and basil leaves that I had in the fridge...


I quickly chopped the basil...


...and then mixed half of the basil with the shredded lettuce...


I did not want the carrots to be too much of a 'chew' in the carrot, so I microwaved the carrots for a minute and then mixed the rest of the shredded basil with this.


I'd mixed them separately as this way the basil would mix better I thought. 


After this I started making the dressing. I cut and poured all the ketchup into a small bowl...


... then I put in a teaspoon of dark soya sauce...


... and added a teaspoon of apple cider vinegar...


I tossed everything together, added the dressing, and then topped everything with sesame seeds and some kalonji.


It was time to pack the salad and then quickly rush off to office after this.